
Get Started with Balance
A step-by-step guide to help you get started with Balance.
Let's get started by running Balance in the sandbox environment. To start, you will need to sign up for an account on the Brankas Dashboard and generate an API key. We will guide you through this article from how to get started in the sandbox environment and transition to go live.
Set Up Your Sandbox
Brankas provides 2 modes:
| Environment | Description |
|---|---|
| Sandbox | A testing ground that allows you to test Brankas APIs with test banks, transactions, and currency. Sandbox endpoints contain .sandbox.bnk.to in the base URL. |
| Live | After you have tested in sandbox mode and are ready to go live, submit your go-live requirements on the Brankas Dashboard, and our team will be reaching out to you shortly. |
Account Setup Guide
- Set up your Brankas Dashboard
To start integrating with Brankas products, sign up for an account. A verification email will be sent to your inbox.

- Set up your business details

- Generate API Key
- Go to API Keys > Create Sandbox API Key
- Create a name for your API Key
- Grant permission to the product that you will be testing, in this case Balance = Read/Write
- Click Continue

Postman Setup Guide
- Import the Brankas API Collection in Postman.
https://www.getpostman.com/collections/bafd08a7069dda4e4b80

- Setting up your authorization
- Select Balance on the Collection Panel
- Update Authorization Type to API key

- Enter x-api-key in the Key field
- Paste the API key generated on the Brankas Dashboard into the Value field
- Generate your first sandbox static link.
a. Select [POST] Send Balance Retrieval Initiation Request.
b. In the Authorization tab, set Authorization type to Inherit Auth from Parent. The authentication method from the previous step.
c. Update and customize Tap in the Body tab with:
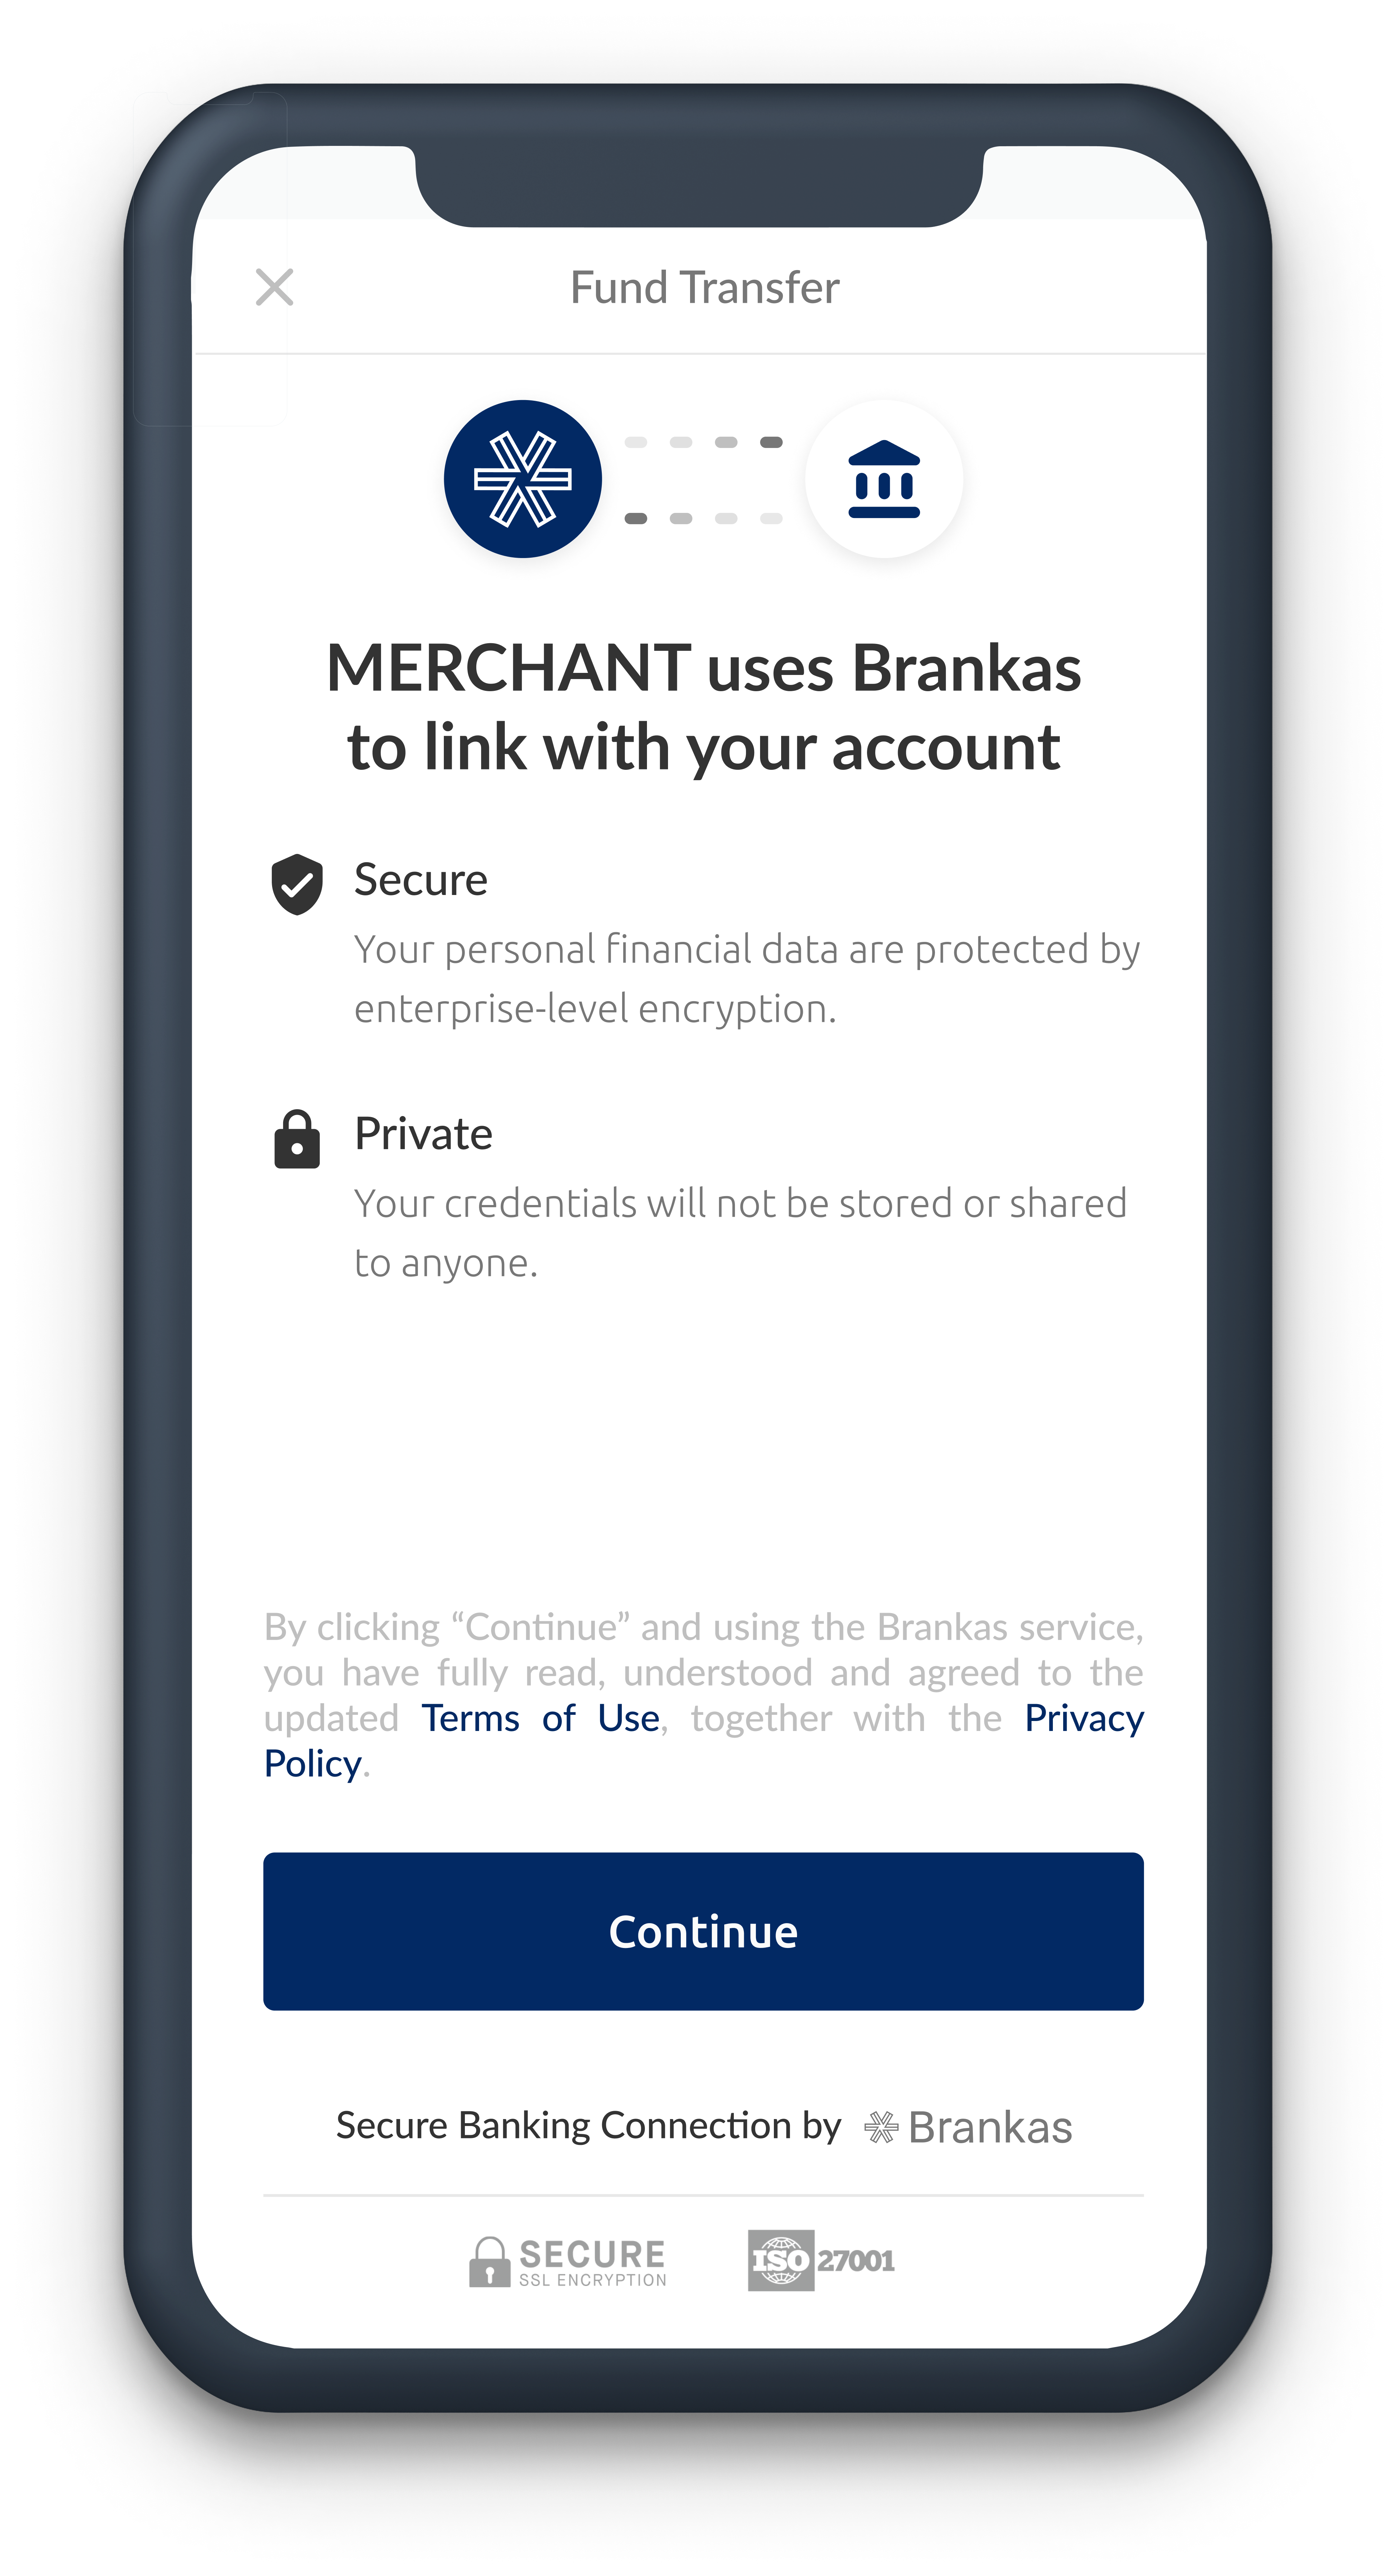
country- Enter either PH or ID.bank_codes- Enter DUMMY_BANK_PERSONALapp_redirect_uri- Enter a redirect link. For example, your website homepage.app_redirect_duration- Set a duration time for the redirection. Time is set in seconds.remember_me- Enable remember me option by either setting it to True or False.auto_consent- Skip consent page by setting it True.
d. Click Send
e.balance_idandredirect_uriwill be generated. Openredirect_uriin a browser.
f. Enter either of these account credentials.
| Identifier/Account | Password |
|---|---|
| [email protected] | user+7 |
| [email protected] | user+8 |
| [email protected] | user+9 |
- View statement shared
a. Select ET] G Get Balance List Request
b. Paste the API key in the Authorization tab.
c. Click Send
d. View the balance data shared in the Body tab. Alternatively, you can also view the data shared on the Brankas Dashboard by looking up for the the transaction id.

Go Live
PrerequisitesVerified account on the Brankas Dashboard
Once you have tested in the sandbox environment and ready to go live, follow through with these steps:
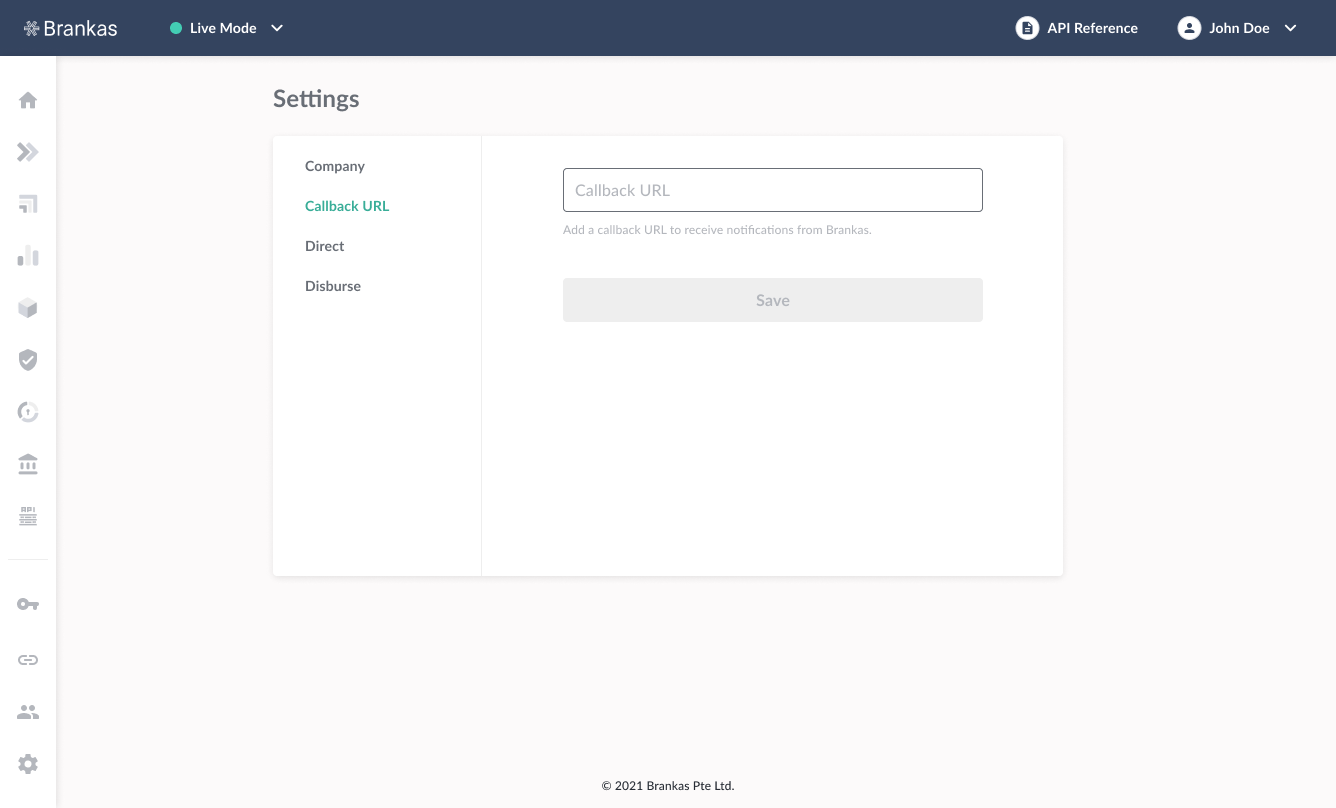
- Update Callback URL
Brankas Direct returns callbacks to your pre-registered webhook URL.
In order for you to receive Final and Transitional statuses, you will need to set-up your callback URL for your listener to push the status to required platforms. These statuses are asynchronous to the actual funds transfer process and to ensure that the pushed status won’t be blocked it is best practice to whitelist Brankas call back URLIP: 35.240.194.107only for callback notification from this IP should be interpreted.The callback to your webhook URL will include both the relevant fund transfer request’s internalPOST 'https://example.com/callback' \ -H 'Content-Type: application/json' \ --data-raw '{ "transaction_id": "f6355a01-e32b-426e-b2af-85366d305743", "status": 2 "reference_id": “9005376336” }'transaction_idalong with thestatusof the operation. This can be then used to query the Brankas Direct Transaction Database directly using the RetrieveTransaction endpoint to retrieve all relevant transaction details.
Field | Type | Description |
|---|---|---|
transaction_id | String | The unique ID assigned to the fund transfer request |
reference_id | String | Any additional identifier, such as a UUID, that corresponds to an invoice, cart, or transaction object. Client can use this field to associate the fund transfer request to a corresponding transaction object in its transaction database. |
- Click Go Live Requirements in the banner on your Brankas Dashboard.

- You will be walked through to submit required documents and details based on your business entity and country of operation. Select the tiles applicable to you:
A summary of required document and details will be listed for you before proceeding. View detailed requirements here.

- Our team will review your submission and reach out to shortly!

Updated 7 months ago