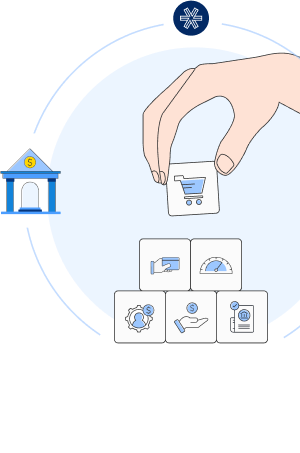
Get Started with Statement
A step-by-step guide to help you get started with Statement.
Account Setup Guides
Postman Setup Guide
Import Brankas API Collection in Postman
- Select Import on the top left corner of the page
- Copy and paste this URL in the placeholder and select Continue to Import Brankas Sandbox Collection 2.0
URL: [<https://storage.googleapis.com/brankas-postman/brankas-postman-collections.postman_collection.json](https://storage.googleapis.com/brankas-postman/brankas-postman-collections.postman_collection.json)
Our Postman collection is a permanent link and contains all products available on the sandbox.
Select Import Brankas Postman Collection | Postman Collection v2.0 | Collection will be added to your Collections.
Set up your authorization
- Select “Statement” on the Collection Panel
- Select “Authorization” tab
- Select “API key” in the Type field
- Enter x-api-key in the Key field
- Paste your generated API key from Brankas Dashboard in the Value field
Your first Sandbox transaction
- Select “[POST] Create Statement Retrieval request”.
- Select “Authorization” tab, set the Authorization type to “Inherit Auth from Parent”. This simply means that you will use the authentication method from the previous step.
- Select “Body” tab, enter information on
app_redirect_uri
,bank_codes
,country
,external_id
andorganization_display_name
.
d. Select “Send”
e. statement_id
and redirect_url
will be generated. Open redirect_uri
in a browser and use these credentials.
Identifier/Account | Password | TFA Token |
---|---|---|
[email protected] | user+7 | user+7 |
[email protected] | user+8 | user+8 |
[email protected] | user+9 | user+9 |
To view statement shared:
- Select “[GET] Get All Statement Data Collection”
- Click “Send”
- View the statement shared in the Body tab
To enable PDF upload:
- To enable this PDF Upload, add
pdf_upload: true
in the Body of Create Statement Retrieval Initiation Request call. - Disable this feature by removing the parameter
Going Live with Statement
Update callback URL
- Go to Call Back URL → Select “Add Call Back URL” → Enter Callback URL → Select “Done”
Apply For Live Access

- Go to Brankas dashboard to access our KYC → Select “Get Live Access”
- You can select the most suitable flow for you and simply follow our KYC submission process.
Generate LIVE API Key
After being granted Live Access, it's time to generate your Live API key.
Reminder: when doing this, make sure that your Environment is on Live Mode.
- Go to API Keys > Create LIVE API Key
- Enter API Key name
- Grant permission ** to each product
- Select “Continue”
Updated about 1 month ago